
2 cm porcelain slabs on terraces – how to lay them fast, safely and precisely
2 cm porcelain slabs on terraces – how to lay them fast, safely and precisely
Complete guide – three terrace slab laying methods and the role of the UP GECO 200 electric vacuum lifter in each of them.
Safety
Spine protection and elimination of accident risk. The lifter takes the weight – workers only position the slab.
Precision
Adjustable handles and symmetrical force distribution allow placing the slab millimetre by millimetre.
Speed
Grip in 0.5 s, release in 0.3 s. A three-person crew lays terraces several times faster than by hand.
Zero damage
No tool scratches. The slab is gripped from above by vacuum – the face remains pristine.
Ventilated method
(on pedestals)
Slabs rest corner-to-corner on height-adjustable pedestals above the screed or slab. Joints remain open – water drains freely beneath the surface.
- Excellent drainage – no risk of moisture build-up
- Space for cables and pipes beneath the slabs
- Easy replacement of individual slabs without breaking
- Independent height adjustment of each pedestal
- Requires a rigid, stable base (concrete slab/screed)
- Higher cost of adjustable pedestals
Dry-lay method
(gravel bedding)
Slabs are laid directly on compacted aggregate and a levelling layer of fine grit 2–4 mm. Joints are filled with sand or water-permeable grout.
- Ideal on ground – garden, driveway, path
- Easy removal and levelling correction of individual slabs
- Water drains through joints – no puddles
- Lower labour cost than adhesive method
- Risk of settling if ground is poorly compacted
- Weed growth in joints possible (controlled with geotextile)
Adhesive method
(on screed)
Classic bonding of slabs onto reinforced concrete screed using frost-resistant elastic adhesive mortars class C2S1 or C2S2.
- Most durable and rigid construction
- Ideal for high-load terraces
- Aesthetic narrow joints with epoxy grout
- Requires 1.5–2% slope away from the building
- Waterproofing and movement joints every 3–4 m required
- Most difficult to correct after installation
| Feature | Ventilated | Dry-lay | Adhesive |
|---|---|---|---|
| Base | Concrete slab / screed | Ground / aggregate | Reinforced screed |
| Drainage | Excellent | Good | Slope required |
| Durability | Very high | High | Very high |
| Removal | Easy | Easy | Difficult |
| Installation cost | Medium–high | Low–medium | High |
| Aesthetic result | Good | Good | Premium |
| Role of GECO 200 | Essential | Essential | Essential |
🔩 Ventilated method
The slab must land precisely corner-to-corner on four pedestals. GECO 200 lets you hold the slab in the air and guide it into position – without knocking over pedestals or displacing levelling pads.
🪨 Dry-lay method
The grit bedding is sensitive to any footstep. GECO 200 carries the slab above the surface and lowers it evenly from above – without trampling the bedding. Result: the slab sits stable from the first placement.
🔧 Adhesive method
C2S1/C2S2 adhesive sets fast – the installer has only a few minutes to correct. GECO 200 allows lifting an already-placed slab and correcting its position without destroying the adhesive bed.
Prepare the base for your chosen method
Check flatness and load capacity. Lay geotextile (dry-lay), set pedestals (ventilated) or prime and apply adhesive (bonded method). Maintain 1.5–2% slope away from the building for the adhesive method.
Connect and start GECO 200
Plug into 230 V / 50 Hz. Press START – the turbine spins up in 2–3 seconds. Check the vacuum gauge shows operating level (≥ 25 kPa).
Apply the suction pad to the slab face
Place the lifter flat on the porcelain slab and lightly press the frame – 35 kPa vacuum activates in 0.5 seconds. Wait for the beep or LED confirm before lifting.
Carry the slab to the target location
Two workers lift the lifter by its adjustable handles and move the slab smoothly to the target spot. The safety chain prevents accidental drop. Do not exceed 2 minutes continuous run time.
Lower and precisely set the slab
Hold the slab just above the surface, fine-tune alignment (ruler, line, spacers). Lower slowly. For ventilated method ensure all four corners rest on pedestals. For adhesive method press gently and check with a spirit level.
Release the grip and check level
Press the RELEASE lever – the slab is freed in 0.3 seconds. Check with spirit level. For dry-lay you can still tap gently with a rubber mallet over a board. Move to the next slab.
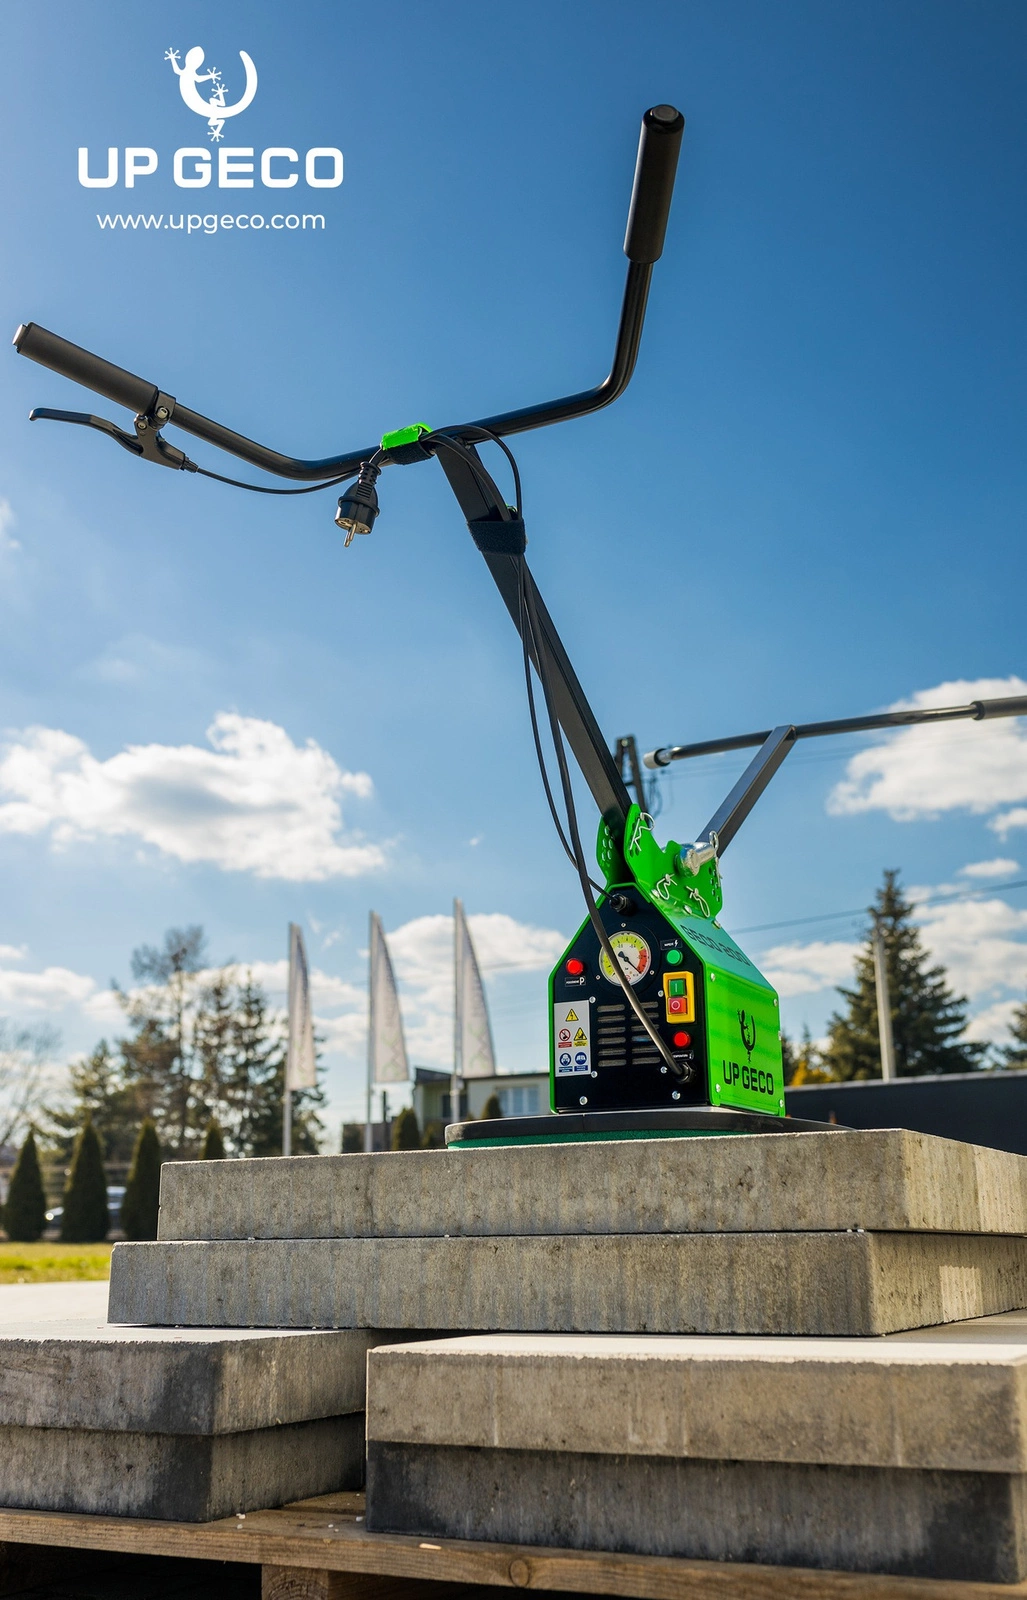
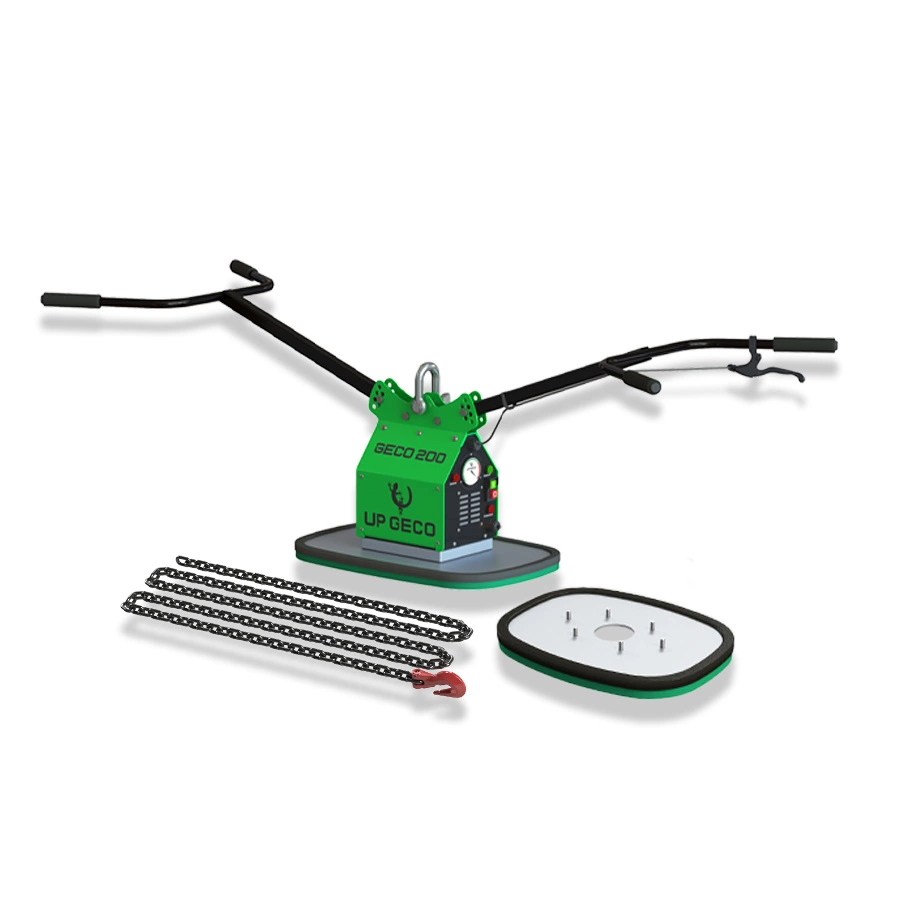
GECO 200 – Vacuum lifter + suction pads
| Max. lifting capacity | 200 kg |
| Turbine | 1,500 W |
| Vacuum | 35 kPa |
| Grip time | 0.5 s |
| Release time | 0.3 s |
| Equipment weight | 18 kg |
| Power supply | 230 V / 50 Hz |
| Suction pads (included) | 400×300 mm + 600×375 mm |
| Certificate | CE / EN 13155 |
| Warranty | 1 year |
| EAN | 5905806907100 |
Ready for faster and safer terrace installation?
Join thousands of paving and construction companies that trust the UP GECO 200 vacuum lifter. Free shipping, 1-year warranty, Made in EU.